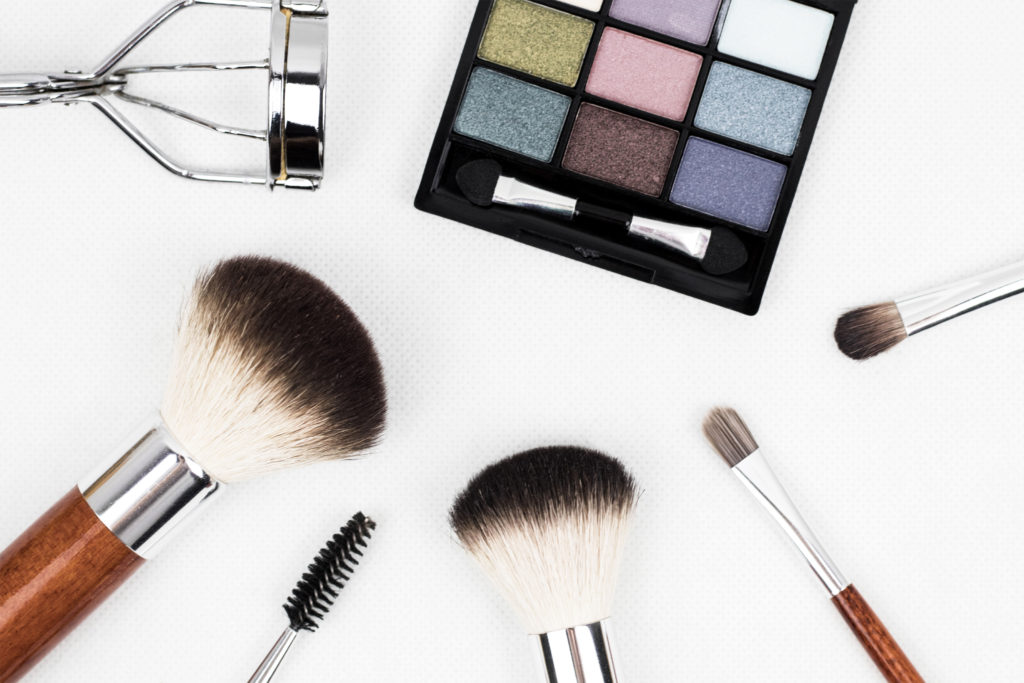
There’s no point in creating a BEAUTIFUL space or vanity to showcase DIRTY brushes and hot mess makeup.
Don’t think of cleaning as a chore, think of it as getting NEW makeup and tools. When your brushes and makeup are clean they not only protect your skin, they look and work like *new*.
Once you’ve gone through your makeup collection and sorted out what to toss, keep and giveaway you’re ready to clean your brushes, makeup and tools.

Step 2: The Clean
Girl, Wash Your Brushes
It’s just gross when you use dirty brushes… you’re taking built up product and bacteria and smashing them onto your skin. You clean your utensils don’t you? So, let’s get real about what you’re putting on your face.
I have about 200 brushes, so after every client I put the used brushes in the ‘dirty brush drawer’ in my kitchen (where normal people store pots and pans). I procrastinate washing brushes because it takes about an hour to clean all 200; however, it only takes a few minutes to wash your personal collection one a week and it makes a BIG difference in application.
There are many brush cleaners on the market that are great, but all you really need is: anti-bacterial dish soap, olive oil, running water and cloth or paper towels.
I highly recommend picking up a brush cleaning palette but you can use paper towels.
- Layer two paper towels at the sink and squeeze a quarter size amount of brush cleaner or dish detergent and a penny size amount of olive oil a few inches apart.
- Hold your brush with the ferrule pointing down and run under warm water or dip the tips into a cup of water. Avoid submerging into water as it will loosen up the glue that holds the bristles.
- Dip the wet brush into the cleanser and gently swirl the over the brush cleanser palette or onto a clean paper towel.
- Rinse the bristles and swirl over a clean spot of the paper towel.
- If there is still pigment coming off, take a little more cleanser and repeat the process
- Use a touch of olive olive with your cleanser to break up liquid foundation, concealer and highly pigmented colors.
- Swirl, rinse, and repeat until the towel shows clean and set on edge of counter with the bristles hanging over the edge.
Check out this short tutorial by Nic at Real Techniques:
Palettes and Pencils and Lids, oh my!
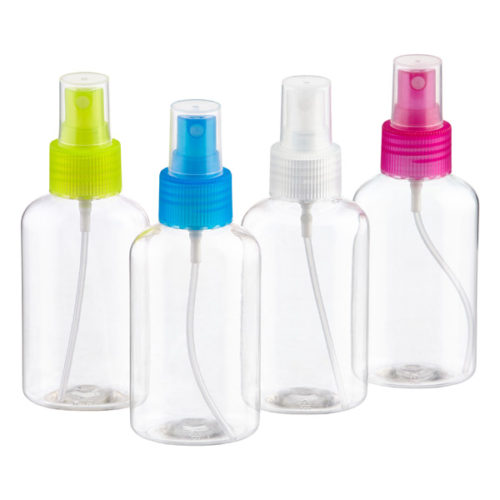
Long before the Corona Virus slammed into 2019, makeup artists have been using rubbing alcohol (in a small spritz bottle) to sanitize everything in our cosmetic arsenal. We clean after every client but for your personal collection I recommend wiping down the items you use everyday when they look messy — product on the inside or outside of container.

- Wipe down the outside of cosmetic containers with a spritz of alcohol and a towel.
- Clean the mirror inside palettes and use a cotton swab to remove product from the nooks and crannies.
- Sharpen your pencils to sanitize (spritz with alcohol before sharpening for extra cleanliness and clean sharpener after)
- Remove lids and wipe off the excess liquids, cream and powder around the opening.
- Sanitize beauty sponges (throw out disposables) with warm water and anti-bacterial dish soap, bar soap or sponge cleanser. Massage soap into the sponge and rinse. Repeat until clean.
- Reshape and clean stick products: spritz top with alcohol then shave off the top layer onto a paper towel.
- Wipe down tweezers, eye lash curlers and other tools with rubbing alcohol.
- Machine or hand wash cosmetic bags and wipe down shelves, organizers, drawers and brush holders with rubbing alcohol.
Congratulations! Now you are ready for the fun final step… the Layout. The hardwork is over and now you can organize and add decorative flourishes that represent your personal style.
xoxo,
Lo
